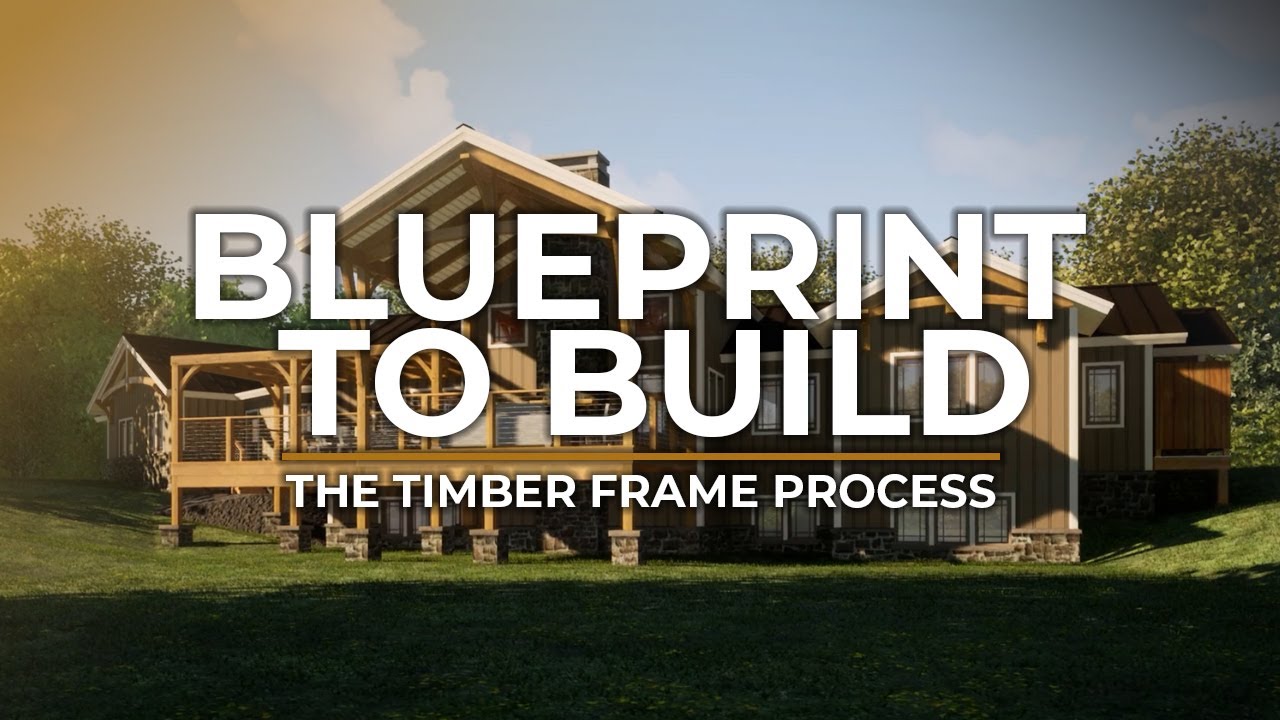
Blueprint to Build
The Timber Frame Process
An inside look at how a timber frame home comes together — from the ground up.
Blueprint to Build is a straightforward video series that walks you through the process of building a timber frame home. Through short, easy-to-watch clips, you’ll see how each stage unfolds — from site prep to raising the frame, to adding finishes and final touches.
Filmed during the construction of a real Woodhouse home, the series gives you a clear, realistic look at what goes into building one of these unique homes. It’s a helpful resource whether you're seriously planning a build or just starting to explore your options.
NEW RELEASE – May 16, 2024
Completed Flyover and Certificate of Occupancy
Well, the first phase of construction is complete. We received our Certificate of Occupancy! There’s still a lot of work to be done (Lawn installation, landscaping, fencing, lower level construction) but here’s a video that gives a good overview of where the place stands now. This week, the boys come home from college (Connor and his friends) and we start moving in!
-Pat Seaman
Owner, Woodhouse, The Timber Frame Company
Book an Appointment with Woodhouse | Try the Budget Calculator

View More Blueprint to Build Steps
Bonus Content
Click each box below to reveal content.
I didn’t see any HVAC drawings?
That’s correct Tad. HVAC plans are not required for a building permit in my area and it is actually quite rare for them to be a building permit requirement. When they are requested, we suggest they are best developed by the HVAC subcontractor being used as they will be most familiar with methods commonly used in the area where the home is being built. We do, however, provide ducting chases in the home when forced air or central air is being specified.
In our Woodhouse home built 10 years ago, the plans included drawings of roof details. The drawings included various options including details about a cold roof. Are the roof details no longer included?
Hi Steve! Good to hear from you. We still include those details. They are on one of the large detail pages I reviewed. I just didn’t mention them.
-Pat
Thanks Pat. We’ve enjoyed our Woodhouse home and have been working with Jay the past several months on some possibilities in the Adirondacks to move to.
Hi Pat, very exciting to see your build coming along. I’m out of breathe just walking along with you in the video!! Question, when you want to save as many trees on your homesite, how do you know how close to the outer walls of your new home to cut? How do you know which trees ca stay and which must go?
Hi Laura! Good to hear from you. I try to save as many as I can and usually end up having to cut down trees later on as they die due to the root structure being compromised by excavation. My experience says you need to be at least 30 feet from the excavated ground both to give equipment room to maneuver and because trees within that area will likely be compromised (depending on their size – the root structure is typically the same size as the canopy). I predict that many of the large maples I saved that are really close to the driveway on my property will probably not make it over time (but at least I’m trying!).
Pat
Great segment on the excavation. I was surprised to hear you say that Superior Walls does not require cement footers, but rather just gravel. I’m curious how all the weight from the house doesn’t force the supporting Superior Walls to sink into the gravel? Did you have a choice of cement footers or gravel?
Hi Steve. Here’s what the Superior Wall website says: “It is a Double Footing: The Superior Walls system is actually two footers: One is a 10.25” steel-reinforced concrete footer that is cast with the wall itself. The second footer is compacted ½” crushed stone laser leveled. “You don’t use a footer?” No, actually we use two!” The next segment will show the Superior Wall system being set by their crew.
-Pat
Enjoying this build very much.
Thanks Mark! We plan to keep the content coming until the very end.
-Pat
Hi Pat, just watched your foundation video again. I had been assuming for our upcoming build we’d be using ICF for our basement walls, and then the TF/SIPs up top, but am very intrigued by the Superior Wall system. I recall meeting with you in your wine cellar, but don’t recall anything about the walls there.
Just a few questions if you don’t mind…
1. Do you know how much cost savings vs ICF? If not, what’s your guess? 10%? 50%?
2. Is that some sort of foam insulation on the inside (Xi/Xi15?). If so, is it continuous, or is there thermal bridging due to the metal framing? What is the R-value?
3. Do you need and/or are you planning a vapor barrier and/or additional insulation on the outside? If so, what are you planning to use?
4. Any issues you know of using Superior Walls in areas with seismic requirements like southern Oregon?
Hi Bob.
The winery, where you and Laura and I met, was my first experience with the Superior Wall foundation system. Many of our clients were using the system and I had no first-hand experience with it so I chose to use it on a relatively small project to see how it performed. I was impressed and that’s why I’m using it on this project. Answers to your questions follow…
My experience is that the Superior Walls system is half the cost of an ICF system.
It is R-21 but, yes, there is thermal bridging due to the concrete ribs.
I will use a dimpled drainage membrane on the exterior of the walls where they will be below grade. No additional insulation.
That’s a good question on the use of Superior Walls in a seismic-sensitive area. I don’t know the answer but assume you could reach out to your local Superior Wall (or other premanufactured foundation system supplier) to find out.
Thanks for the questions.
-Pat
As a note on seismic – generally speaking a stone underlayment provides a naturally more resilient vibration layer under the concrete walls. The Inca’s did this for all their heavy stone structures in South America (Peru).
Regarding Superior Wall in areas with seismic activity, I’m mostly wondering about joints. Would a 6.0 quake cause the wall segments to separate, leading to water penetration.
According to their website there are no Superior Wall licensees in Oregon, California or Washington. Which is odd, since I believe the company HQ is in SoCal. I’m going to have to call to get the scoop…
Thanks for sharing your home build, Pat. It’s been enjoyable seeing the progress and am envious as our Saranac Lake project is slow moving due to lack of locating a builder. Jay is doing a great job and has been super helpful. I look forward to seeing your timbers go up. I’d love to come see it since we’re so close!
Thanks Steve.
Yes, Jay has been keeping me apprised of your search for a builder with enough open schedule to look at your project. You are welcome to come see our project. We are having an open house on Saturday October 14th from 10a to 2p and we’d love to see you there!
-Pat
Hi again, Pat. I just watched the “Cutting Timbers” video. Really cool seeing the timbers being cut and laid out to ensure proper fit, they are truly gorgeous wood specimens! It was also very cool to see how it looks when packed onto the truck. Now the fun begins!
Thanks Bob! Spoiler alert – the videos are actually one week behind and, last week, they went up beautifully! You’ll see it in the next video.
-Pat
Thank you Pat for showing your build step by step which brings back some of my memories of our custom build 5 years ago. I used a poured foundation basement walls then but today I would be very interested in the Superior Wall system you are using. It’s been a topic lately in our neck of the woods with a few clients planning to or thinking of using them. I will be in town the week prior and have decided to come to your Open House event on the 14th. I can’t wait to see what you are doing and learn about the building systems & techniques. See you then!
That’s great news Chuck! I look forward to showing it to you.
Hi Pat, when you showed the interior in your latest video I noticed the interior walls attached to the TF posts and it reminded me I keep forgetting to ask why you use green board. Is it just to protect the walls during construction, until you can get the space conditioned? Or is there some other reason?
Hi Bob,
We actually use MoldTough™ which is a little bit better than green board. We use it between the timbers and SIPs so that, during installation, if it gets rained on it won’t deteriorate like normal drywall and will inhibit mold growth as it dries. We want it installed between the timbers and SIPs to ensure a tight seam even as the timbers dry and shrink over time. Hope that answers your question.
Pat
Hi Pat! I am also enjoying your videos; they give me a feeling for what’s in store for us. What an amazing team you have! So fast.
I wonder if you plan to have recessed lighting in your T&G ceilings? If so, how do you wire them without attic space? Thanks!
Hi Laura.
I do not plan on having recessed lights in the T&G ceilings. We will have recessed lights in all of the flat, ceiling panel areas (Primary bath, connector between bedrooms and great room, connector to garage, and garage) and these are just wired up in the conventional truss areas above the ceiling panels. If you wish to have recessed lights in your T&G areas, you can put sleepers between the T&G and roof panels which provides a space for both wiring and the LED connection box integral to the LED recessed light. We can provide drawings for this condition if you require.
Pat
Nice looking house and informative videos. What’s the time frame from start to finish?
Thanks for the kind words. We broke ground in June and I hope to be complete in April.
Pat
I’m really enjoying watching this process with all the details. My whole team is watching it as well, it’s like taking Timber Frame Construction 101. Thank you for taking the time to share your experience Pat. So impressive!
Thanks Kate! Full disclosure – Kate’s my sister.
-Pat
This is such a great resource to have at the “design decision” stage of our project. We will be studying this at length as we select materials going forward. I’m sure it’s somewhere in the videos, but could you describe your HVAC selections, and discuss why you chose them? Oil/gas/geothermal/heat pump, baseboard or forced air etc. Thanks!
Thanks Henry. Glad you like them. HVAC will be forced air / central air using two Bosch heat pumps over propane furnaces as air handlers. The idea being that I’m told heat pump technology has dramatically improved in the last 10-15 years and can now handle our climate. If we find that it can’t, I can connect propane to the furnaces as contingency. We’re trying to go 100% electric.
-Pat
I also want to say thanks and great thinking with this video series. We are in design phase and still deciding on our timber frame partner. The fact that you took the time to do what you are doing is appreciated and a great marketing move. We just sent plans over to Jamie and await his input.
You’re very welcome Dan and thanks for the kind words. I asked Jamie to send me your plan. In a lot of ways it reminds me of my parent’s first Woodhouse – same two-sided fireplace between the kitchen and living room, same position of master suite, dining room, and garage. Do you have any thoughts on the massing of the elevations? That would be helpful for us to consider and the development of some type of volume study will be necessary for estimating purposes. I hope we can earn your trust and partner with you on your project. I’m available should you require my assistance (though Jamie is quite experienced and helpful).
Pat
Pat,
Jamie gave me a call yesterday and is starting on the preliminaries for us. We are thinking @ 16ft vault in main area with slightly lower in the kitchen and master with rafters. No trusses there. Jamie called our entry a “cat slide” and our general design is intended to be English cottage/tudor. When I saw your covered back deck go up it looked exactly like what we are looking to do. Karen will take care of the rest with Jamie. I guided the last one which was full Swedish coped logs from BC that we built in Colorado. This one is hers. We let the last one get out of control. This will be our retirement home so budget will be more important this time.
Sounds good Dan. A cat slide entry will definitely give you that Tudor-style look. A steep roof pitch is another feature of that style. I look forward to seeing it come together.
-Pat
Very exciting to see your drywall go up! As we prepare to break ground I am glad to have your videos to walk me through the process. We are so glad we chose to work with Woodhouse on this journey as everyone, including yourself, has been readily available to help us with every question big or small along the way. This year will be quite the learning experience for us as we build and it’s truly helpful to have these videos to satisfy our questions of “what comes next?”
Thank you Laura. There will be bumps along the way but we’ll be there with you to help you roll with the process.
-Pat
If I remember correctly you are using natural split stone from the area. How does the cost compare to cultured stone of a similar look and feel?
That’s an interesting question. I’ve always used $20/sf for cultured stone installed but that was pre-pandemic so perhaps now it’s $30.
I’m paying nothing for the stone material on this home because all of the stone has been collected off my property for the last five years. I’m not purchasing anything besides mortar. The stone masons tell me to figure $35/sf for labor to install the stone so their labor number is more than the total installed cost of cultured. I have noticed that it does go slower because it requires more mortar and there is more alteration time as they break stones to fit certain spaces.
With all that said, my educated guess would be about double the cost of cultured if you had to purchase the stone.
-Pat
Could Woodhouse set timbers get structure under roof, and my subs finish build, can timbers be Oak and saw cut so saw markings are on logs , Thank you George Harriss
George,
Of course! That’s what we do. Where is your project?
Pat
What are you using to treat your outside timbers – the posts for your deck, timbers for your pergola, posts for front entrance, etc? Also, can you explain why you chose the copper wraps at the base of your exterior posts, and how you attached them?
Hi Steve,
For exterior timbers I will be using an oil-based spar varnish. Not sure which one as the government’s elimination of oil-based products has limited what’s available and I will need to investigate. We won’t be doing that until we are moved in – sometime this summer. On the copper – that’s how I always finish off the bottom of posts so I’m just sticking with it. We cut a kerf into the post just above where the fasteners have been drilled in and then form the copper with a break and insert the folded portion into the kerf as we wrap it around the post. It’s then finished with copper roofing nails. I can go into more detail with your builder when the time comes if you wish.
-Pat
Hi Pat, I love those chandeliers you showed in video 30, very nice choice. The video was from the next room over, so I couldn’t see how you routed electrical wiring to them. Did you route through seams between the SIP roof panels, through a rafter or ridge beam, or through the white oak ceiling panels…?. I assume there is a visible canopy at the top, if so, how is that secured to support the weight of the fixture? Finally, will you be supplementing the light from those chandeliers with any other light sources?
Hi Bob.
The wire is on top of the ridge beam in the great room where the chandeliers are. In the bedrooms the wire is between the SIP panels above the T&G. In both cases we just drilled down through the timbers. The canopy is secured to the bracket that comes with the fixtures (which is screwed to the timber). Those chandeliers really light up the room but there will also be lamps with the furniture that will be around the fireplace.
Pat
Pat,
We are in design for a build in upstate NY. What did you calculate the difference to be for a metal roof vs asphalt shingles? Either will last longer that I will, so the replacement cost of asphalt in 25-30 years does not concern me.
Hi Henry,
My experience is that a standing seam roof is about three times the cost of an asphalt shingle roof.
-Pat
Hi Pat, looks like you did a warm roof install, is that correct? My understanding is Murus recommends but doesn’t require cold roof installs for their warranty, but I know you’ve personally done several Woodhouse builds with Murus SIP roof panels, so I assume your decision is based on personal experience. We’re aware of the additional cost of the cold roof construction and would love the reduced cost of the warm roof for our upcoming build. Are there any other factors besides cost that led you to use a warm roof for this particular build?
Hi Bob,
That decision was based upon the cost savings and the experience of the crew and my ability to supervise on site. Even though I made that decision I would always recommend that a client install a cold roof system.
Pat
Hi Pat,
Interesting how your floor installers cut a notch/groove out of the base of the posts for the hardwood flooring to slip under eliminating the need to trim around the posts. This really does leave a much cleaner look. Do you know how the floor crew cut that notch or groove out of the timber post? Does there still need to be a gap between the wood floor and the timber to leave room for expansion? And speaking of flooring, wondering what species you’re going with? Also curious where you ordered it from. It looks like you have a wide plank. Your house is looking great!
Hi Steve.
Yes, we leave the flooring about a quarter of an inch from the post on the inside of the groove to allow for expansion. The groove is cut with a multitool and a chisel using a piece of the flooring as a guide. I’m going with character grade white oak, 6 inches wide. My supplier is Kennedy hardwoods in Preble New York.
-Pat
Looking great, Pat. What wood species do you have on the floor and what species did you select for your kitchen cabinets?
Hi Steve. White Oak on the floor and stair treads because it’s the hardest and will stand up to our dogs. Cherry for the cabinets.
-Pat
Wow, only a few weeks to go, and they will surely fly by. Congrats on the great progress, Pat. Just a quick question, another one related to lighting. In your 3/21 video you showed one of the pendant lights you’ve installed. I noticed the electrical wiring goes through the center of a beam, which I know is allowed, and I see you have an interior wall over by the cabinets, so assume you ran wiring from there, is that correct? If so, how did you run the wire to and over the top of this beam without it being visible?
Thanks Bob. Knock on wood. HOPEFULLY it’s just a few weeks to go but there’s still a lot to do.
Since there is no second floor on this house, we just ran Romex on top of the beam and no one can see it. In previous homes that have a second floor I have routed a channel in the top of the beam and then fitted a piece of wood into the channel to hide the wire. After sanding and finishing it’s not visible unless you’re looking for it.
-Pat